Keeping your website backed up is one of the most important jobs you can do as a site owner. Using a plugin is a quick and easy way to backup your WordPress website, and once set up, most plugins will run backups automatically. This leaves you to worry about other aspects of your website, like creating great content and growing your following.
So which plugin should you use to backup your WordPress website?
In this article, we consider how to use the free plugin UpdraftPlus. We look in-depth at the features it offers, and discuss step-by-step how to install and configure this useful solution. Once you have finished reading, you will have a good understanding of how to backup your WordPress website using UpdraftPlus.
But to get started, let’s first look at why backing up your website is such a crucial task…
Why You Should Backup Your WordPress Website
Imagine waking up in the morning and your website has disappeared overnight. All your hard work, hours of designing and writing, all gone in a blink of an eye. How long would it take you to recreate it all? And how much would it cost your business, financially as well as in followers and reputation?
All sorts of issues can affect WordPress websites. From viruses or getting hacked, to an update gone bad, not having your site updated isn’t a risk worth taking. If you have consistently backed up your site at regular intervals, then if the worst happens and your website is lost, you can quickly and easily restore it. And although losing and having to restore your website may be an inconvenience, but it isn’t half as bad as never recovering your site and having to start over from scratch.
So, with that in mind, let’s now find out about the backup plugin UpdraftPlus…
UpdraftPlus: An Overview
UpdraftPlus is a useful and effective WordPress plugin that is free to download from the WordPress Repository. This popular plugin will enable you to backup your complete WordPress database and site files, and then store it on one of a number of cloud solutions. These include…
- Dropbox
- Google Drive
- Amazon S3
- FTP
- UpdraftVault
- RackSpace Cloud
- SugarSync
…and many more! UpdraftPlus also allows you to customize the settings to suit your site’s specific needs, and arrange automatic backups on a schedule of your choosing.
Importantly, restoring a backup is a very simple process, which takes minimum time and just a few clicks of a button.
So, now we know a bit about what UpdraftPlus offers, let’s next take a look at how to install it on your WordPress website, and configure the settings…
How to Install UpdraftPlus
To install UpdraftPlus, open your WordPress dashboard and from the menu select Plugins > Add New.

Type UpdraftPlus into the search bar. Once the plugin has been retrieved, click on Install > Activate.
UpdraftPlus has now been added to your WordPress dashboard and is ready to be configured.
Configuring UpdraftPlus
To customize the UpdraftPlus settings, from your WordPress menu select Settings > UpdraftPlus Backups.
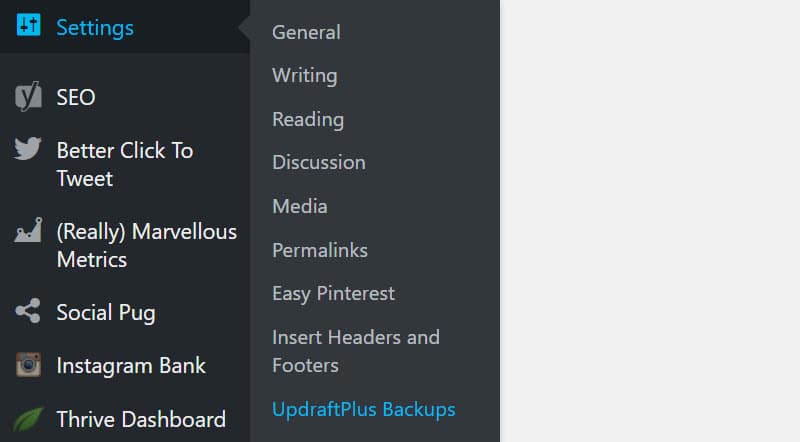
Here you will find the UpdraftPlus menu…
Setup Automatic Backups
To set up automatic backups, select the Settings tab. Here you can choose whether to backup your site every 4,8, or 12 hours, or daily, weekly, fortnightly or monthly…

Opt for a schedule that reflects how often you update your website – so if you add content every day, consider backing up daily. (If you don’t want to backup your website on an automatic basis, simply select Manual – backing up manually is covered later on, but you will still need to connect your WordPress website to a remote storage location).
Connect to a Remote Storage Location
You will now need to select the remote storage location that you want to use. For the majority of these solutions, you will need to create an account directly with them before connecting via UpdraftPlus.
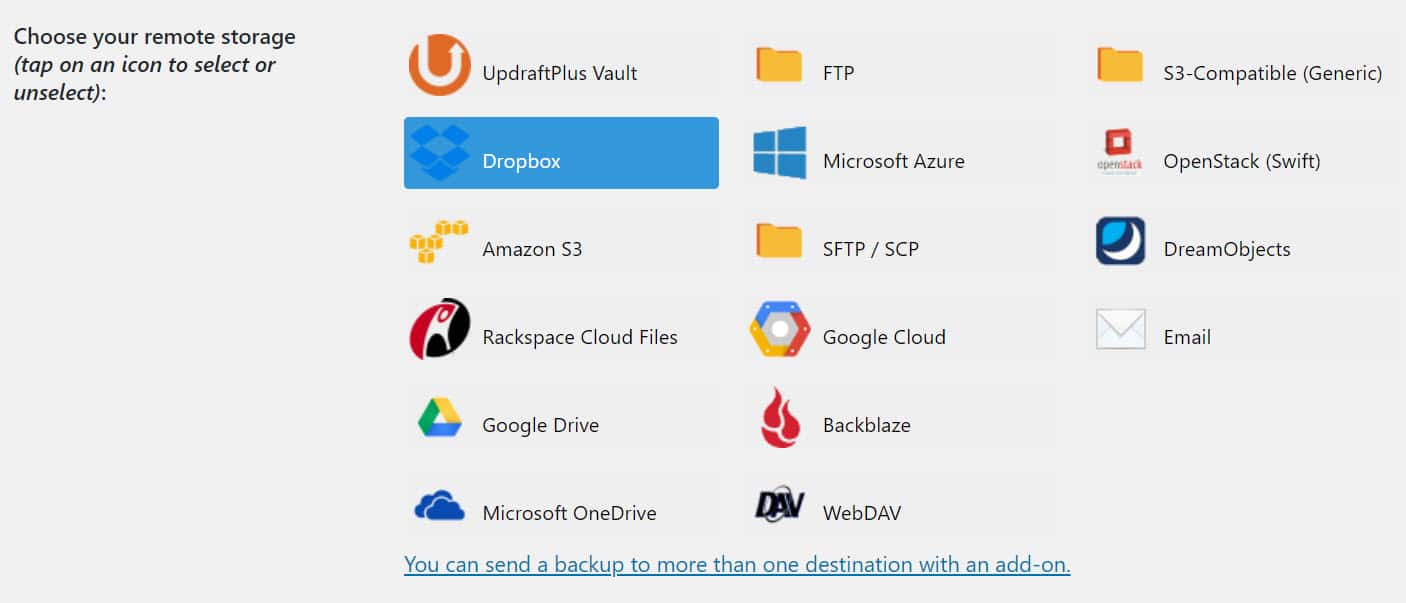
In this article, we are going to look at how to backup to Dropbox.
Select Dropbox and then scroll down the page to Include in Files Backup. Here you need to ensure that all of the boxes are ticked, so plugins, themes, uploads and other directories are all backed up. Then click on Save Changes a the bottom of the page.

You will now see a popup asking you to authorize UpdraftPlus access to your Dropbox account. Click on the link and then sign into Dropbox.

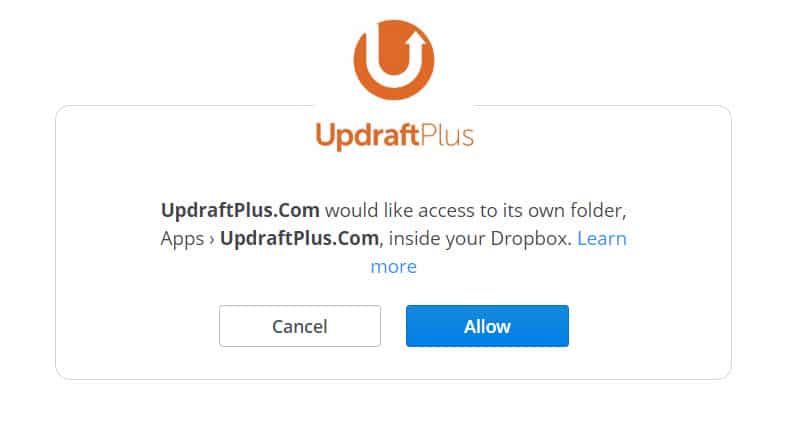
Next, you need to confirm that you allow UpdraftPlus to create and access a folder inside your Dropbox.
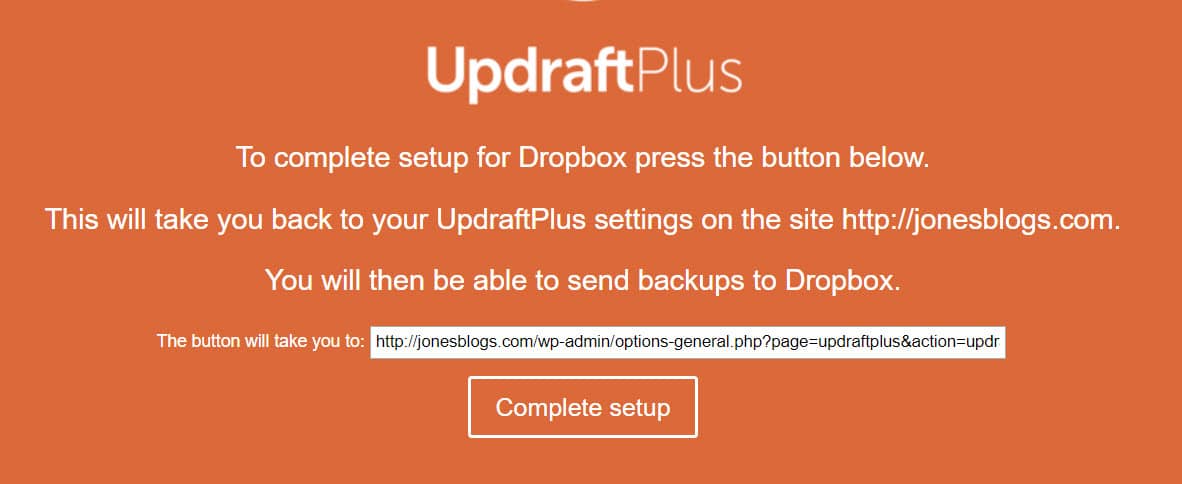
Lastly, select Complete Setup. You will now be able to back your WordPress website up to your Dropbox.
Back at your website, under Current Status, you should see your WordPress website has been successfully linked to your Dropbox account.

Updates will now run automatically on the schedule you previously set.
Manually Backup and Restore Your Website With UpdraftPlus
If you want to manually backup or restore your website at any point, select the tab Current Status.

Here you will see buttons for…
- Backup
- Clone/Migrate
- Restore
These buttons will enable you to manually backup your WordPress website, as well as migrate or importantly restore your site.
View Existing Backups
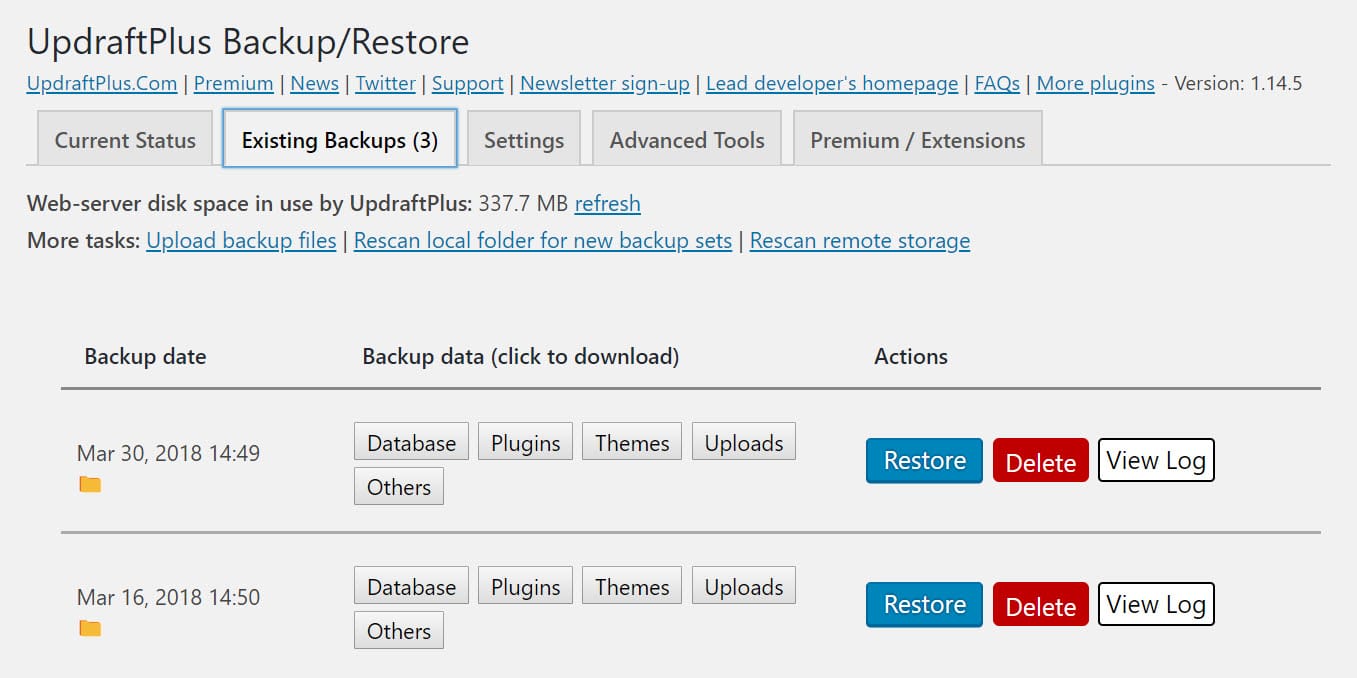
Existing backups can be found under the Existing Backups tab. You can restore any of these backups at any time by simply selecting the Restore button. (The number of backups retained by UpdraftPlus can be configured under the Settings tab).
Final Thoughts on How to Backup Your WordPress Website
As you can see, backing up your WordPress website with UpdraftPlus is a quick and easy process. And what’s more, once setup, the plugin will run backups automatically. This should give you peace of mind, as UpdraftPlus will ensure that there is always a recent copy of your website saved for safe keeping. So, if you need to, you can restore your site in no time at all.
Have you got any questions about using UpdraftPlus? Please feel free to ask away in the comments below…




Leave A Comment